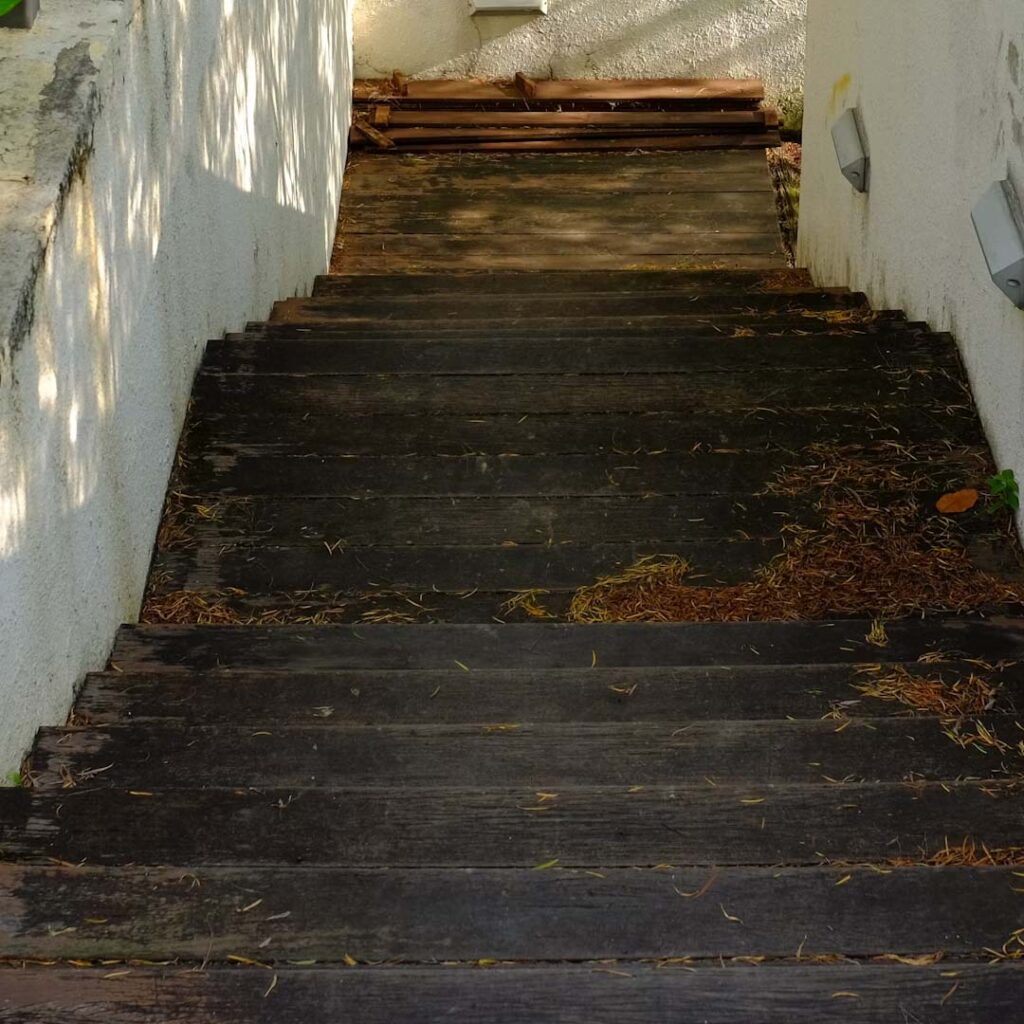
Wood Retaining Wall
Wood Retaining Wall
Believe it or not, wood shares many of the same qualities as brick. They both have been around since we can remember, they also have an old style nostalgic look, and are made of very accessible material. But most wood retaining wall contractors will tell you that when it comes to their building properties, they are in fact very different.
Pros of Wood
Wood retaining walls are very popular because of the natural look they have, and that they can blend into any landscape.
They are also one of the most cost effective retaining walls that are easy to install. This light but very durable material is so easy to use, it makes building and dismantling walls a piece of cake.
Cons of Wood
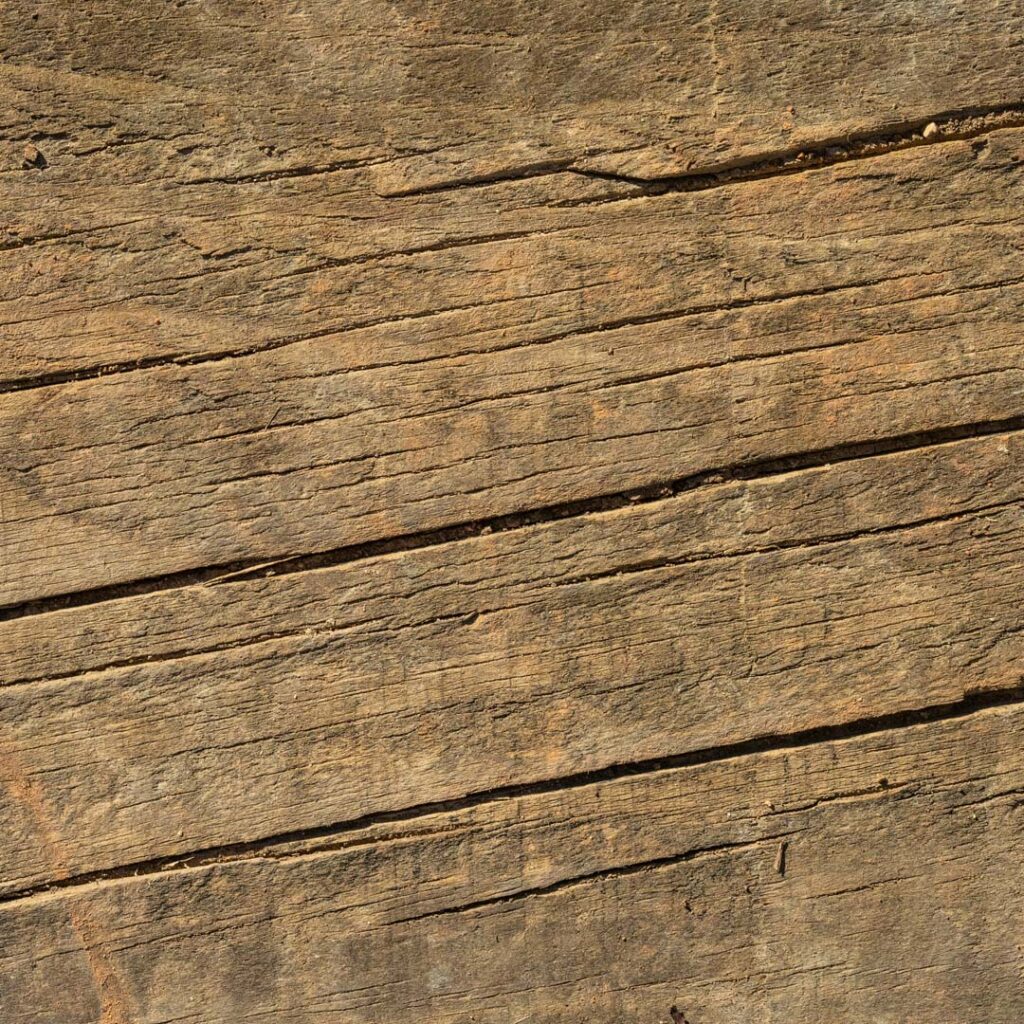
One of the bigger cons of building a wood retaining wall is the lifespan of the wood. Wood has the shortest lifespan of all rock wall materials, but if treated properly you can get at least 20 years out of it. But wood can rot, so if you live in an area that gets a lot of rain, it may be best to ask residential retaining wall contractors about other material.
Wood retaining walls are meant for smaller projects like protecting your plants and garden, or just around the edge of your property, but they are not recommended for bigger projects.
Everyone know that with wood can also come termites. You always need to be vigilante when it comes to protecting your wood retaining wall from termites.
Installation
Step 1
The first step is to find where you are laying out the wall and excavate the ground behind it. Then you’ll want to dig an 8 inch deep trench for the first row of wood. Once the trench is excavated you’ll want to line it with landscape fabric, then add 2 to 3 inches of gravel on top and stomp it in place. Next use your level to ensure the trench is completely level.
Step 2
The next step is to prepare the wood. Drill a half inch whole 6 to 12 inches from the end of each timber. This is for holding the rebar stakes. Also make sure you are treating each end of the wood with a preservative to prevent them from rotting. Now you can lay down the first course of wood, keeping in mind to keep it level. Also check the corners to ensure it is square leveled using a framing square.
Step 3
Now drive 42 inch length rebar through the holes you drilled in the previous step. You can use a sledgehammer to put them into the holes. Make sure to offset the ends of the second row of wood by 4 inches from the ends of the row below. Place the wood so that the front of the upper timber is a half inch back from the face of the lower timber.
Step 4
Now you want to make sure that each row of wood is fastened to the row below with 10 inch landscape spikes. Lay out holes for the spikes about 6-12 inches from each end of the wood, and every 4 feet in between. Also make sure those holes don’t hit the rebar that holds the first row in place. Using a ⅜ inch drill bit, you can now drill the holes. Now drive those landscape spikes into the holes with a sledgehammer. It’s also a good idea to make the location of the spikes with chalk, so you don’t hit them when you do this step on the next row.
Step 5
Now that the second row is in place, put down a thin bed of gravel behind the wall, on the ground, and sloping it 1 inch every 4 feet. Take your drainpipe and lay it down on that gravel against the wall. Now cover the drainpipe with more gravel, and dig trenches for the deadmen and tiebacks, at 4 foot intervals. Every second course you lay going up, you’ll want to install Deadmen or tiebacks to anchor the all. Make sure to offset them from the ones underneath.
Step 6
Next you’ll want to cut the deadmen and tiebacks. Set one end of every tieback on the second row of wood, and the other end of the cross piece. Now bore a ⅜ inch pilot hole in each tieback and deadman, for the 10 inch landscape spikes. Now drive the spikes into those holes, then attach the tiebacks to the deadmen and the wall.
Step 7
Now you can start laying down the remaining rows, while filling the trench with gravel all the way to the top, for each row you lay. Also make sure to firmly pack that gravel. Remember as you are laying down each row, to step back from the front from the row below. Install deadmen and tiebacks every second row. For your top row, drive a spike through the corner.
Step 8
Now that you have installed the top row, fold the landscape fabric over the gravel and fill the remaining space with topsoil. Then rake it smoothly and you are finished!
In the Okanagan, the combination of fluctuating temperatures, soil erosion, and moisture can quickly deteriorate a wood retaining wall, leading to rot, instability, and potential failure. Replacing it with a more durable material like concrete or natural stone ensures long-lasting strength, enhanced curb appeal, and reduced maintenance. These materials can withstand the region’s unique climate while offering superior structural integrity to protect your property for years to come.
Get a Free Quote
Contact us to get a free quote on a Kelowna wood retaining wall.